August 28, 2026 • Maren Calloway • 11 min reading time • Prices verified June 6, 2026
Wax Topcoats for Chalk-Painted Furniture: Clear vs. Tinted and When Each Makes Sense
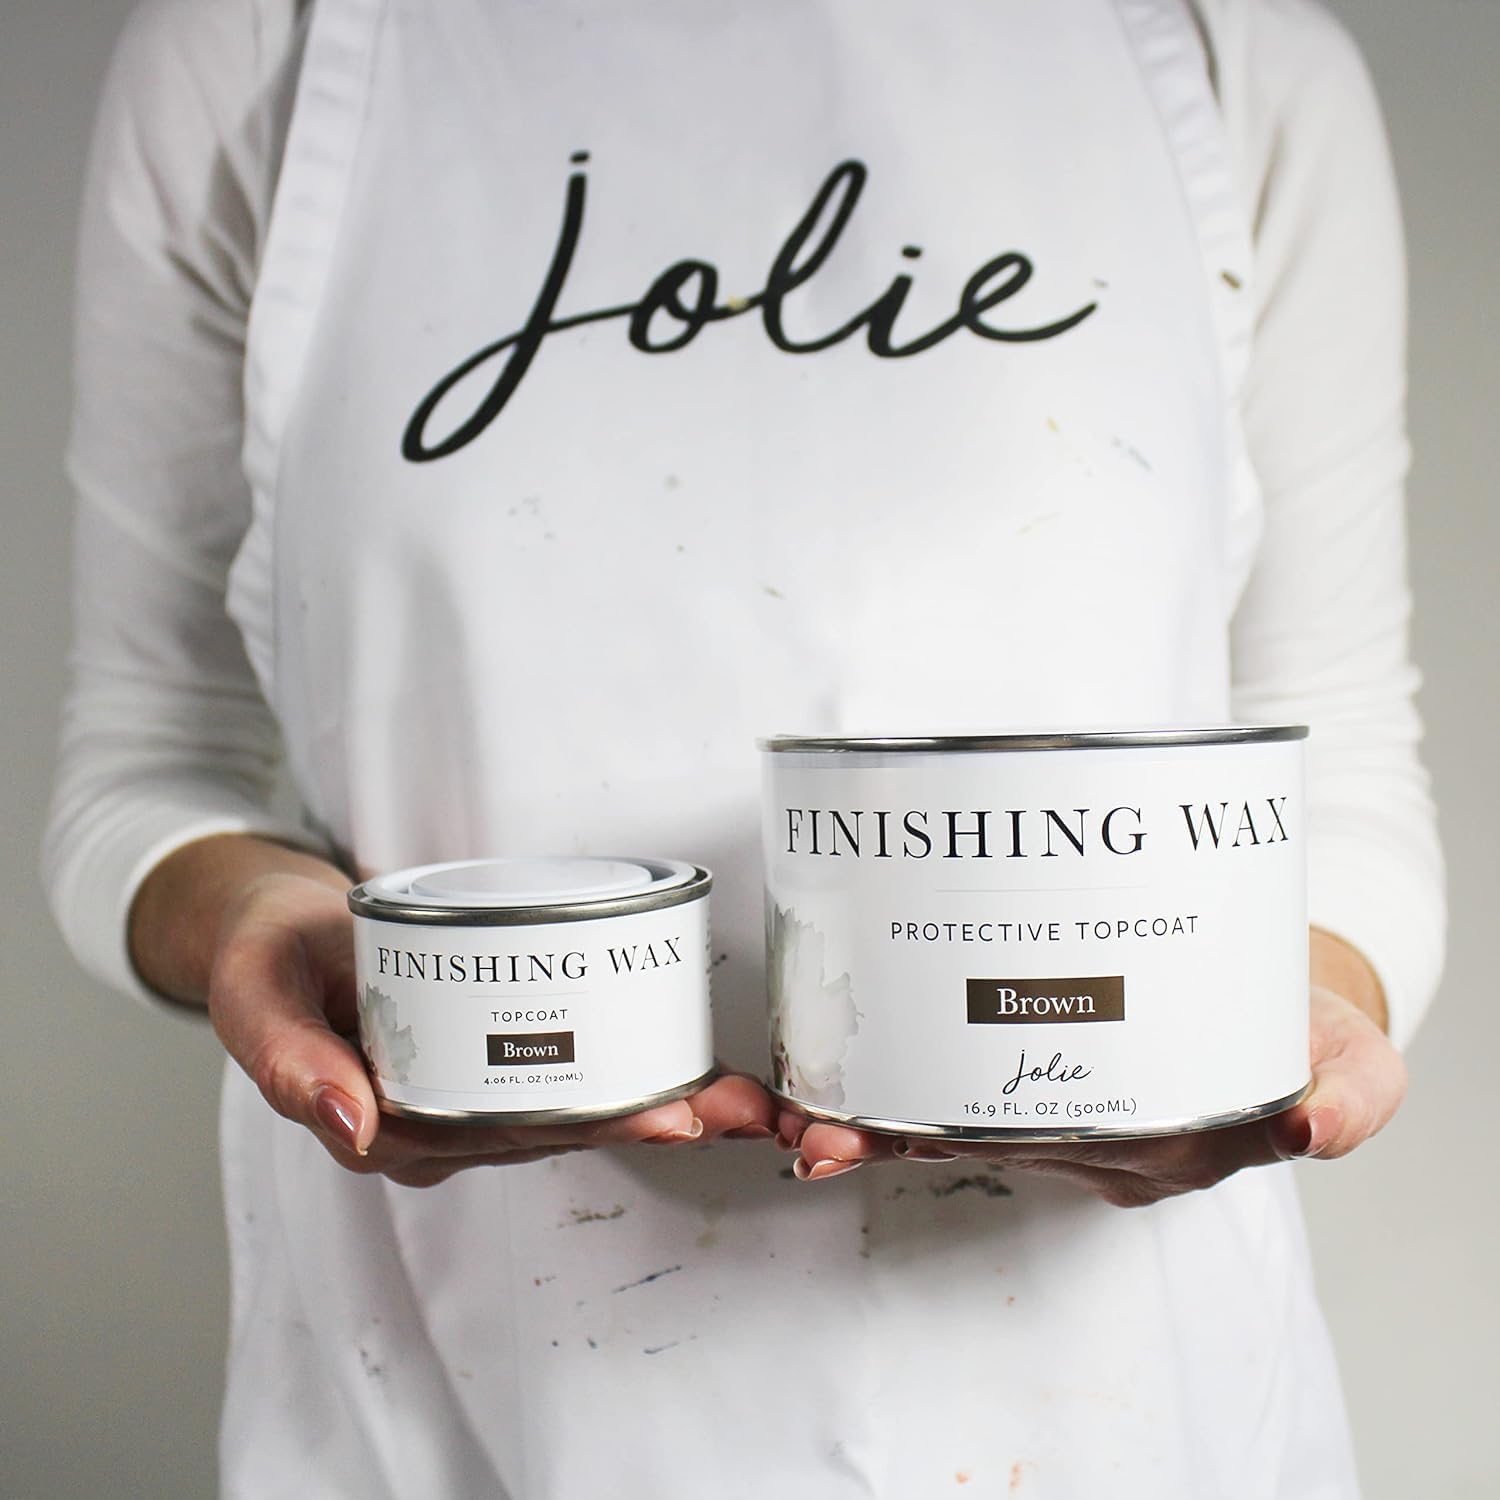
If you’ve ever painted a piece of furniture with chalk paint — a flat, matte, velvety coating that adheres to almost any surface without primer — you’ve probably hit the same wall: the paint looks gorgeous the moment it dries, and then someone sets a glass down and leaves a ring. That’s the fundamental problem with chalk paint used on surfaces that actually get used. The paint itself is porous, which gives it that beautiful matte depth, but porous means vulnerable. A wax topcoat is the traditional fix: a soft finishing wax (paste consistency, similar to car wax or furniture polish) that you buff into the surface to seal it, add a gentle sheen, and build a protective layer. The question most people face once they’re comfortable with the paint step is which wax to reach for — clear, which preserves the paint color exactly, or tinted (usually dark or black), which adds an aged, antiqued quality to the finish. This article lays out that decision with specifics so you can make the right call before you open the jar.
| EDITOR'S PICKJolie Finishing Wax - Protectiv… | Mid-tierFinishing Wax Furniture Wood Fi… | Budget pickWood Finishing Wax for Furnitur… | |
|---|---|---|---|
| Volume | 4.06 fl oz | 7 oz | 3.5 oz |
| Color | Brown | Clear | Clear |
| Clear or tinted | Tinted | Clear | Clear |
| Scent-free | ✓ | — | — |
| Non-hazardous | ✓ | — | — |
| Natural wax | — | — | ✓ |
| Price | $21.95 | $17.99 | $14.99 |
| See on Amazon → | See on Amazon → | See on Amazon → |
The Core Tradeoff: Color Preservation vs. Visual Transformation
Clear wax is a sealer first. Its job is to lock in the paint color without altering it, add a low-sheen protection layer, and give you a surface you can actually wipe down. If you’ve painted a piece white, cream, pale gray, or any color where you want the result to read exactly as painted, clear wax is the default and usually the right choice.
Dark or tinted wax does something fundamentally different. It behaves like a glaze — settling into carved details, crevices, grain lines, and corners — and builds a visual patina that reads as age and depth. As The Spruce explains in its furniture painting coverage, dark wax creates an antiquing effect that would otherwise take decades of use to develop naturally. That’s a legitimate design outcome worth pursuing deliberately. But the margin for error is narrower, and the application demands more intentionality than clear wax.
The three comparison sections below break down each option by use case so you can match the product to the project.
Clear Wax: The Default Protection Layer
Wood
$14.99
In stock on Amazon
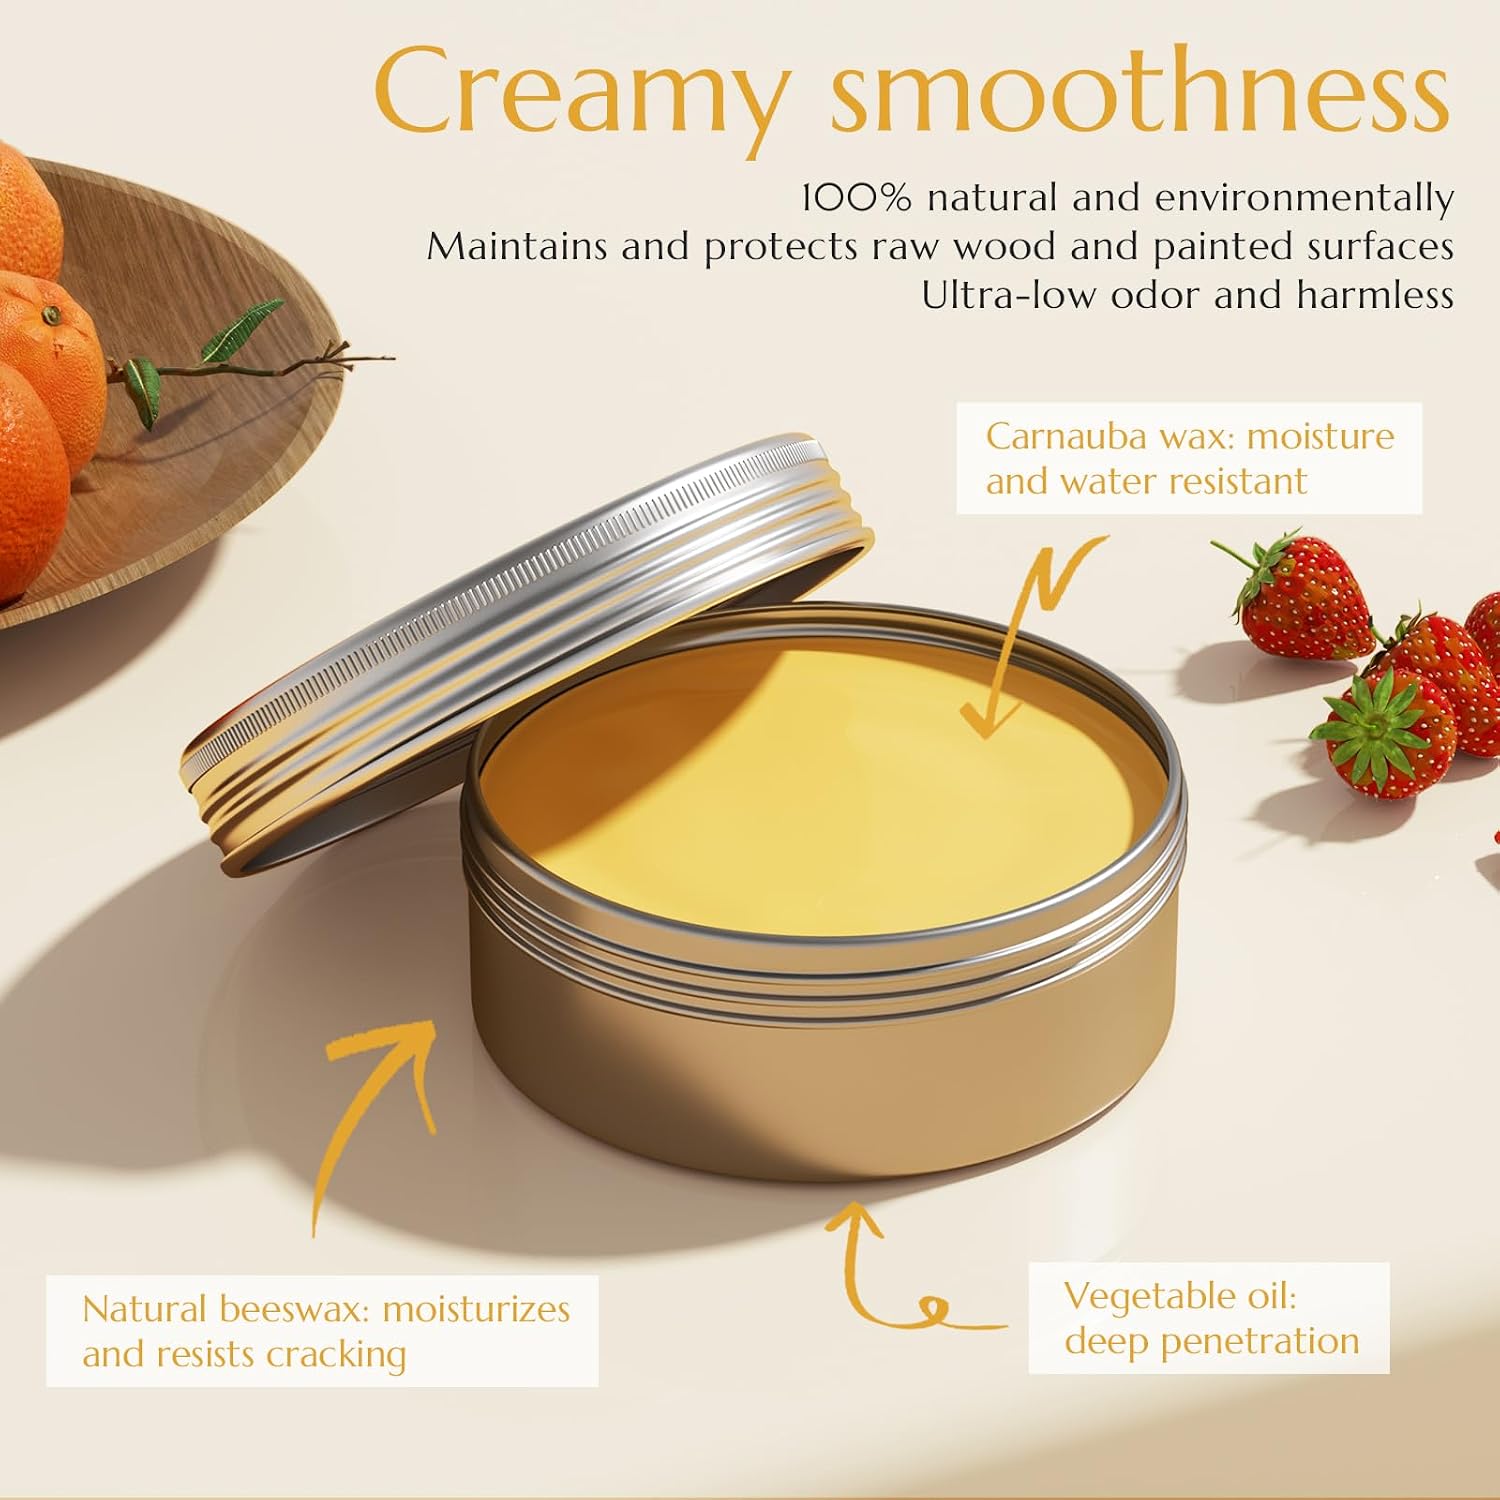
Check price on AmazonClear wax is the finish to reach for when your goal is preservation. You’ve put real time into getting a paint color right — a soft white, a dusty sage, a pale French gray — and you want that color locked in without any visual shift. Clear wax delivers that.
According to Annie Sloan’s official product guidance (published on anniesloan.com), clear wax applied with the absorb-then-wipe method is the recommended sealing step for all chalk paint applications where the painted color should remain unaltered. The guidance describes the process as: apply a thin coat, allow 30 to 60 minutes for the wax to penetrate the porous paint surface, then buff with a lint-free cloth or stiff wax brush in circular motions. Skipping the wait step is the most common source of the sticky, uneven result that new users report.
Bob Vila’s chalk paint primer (bobvila.com, “Chalk Paint 101: Everything You Need to Know”) reinforces the absorption principle: chalk paint is formulated to draw wax into the surface rather than allow it to sit on top. A surface-level application wiped too quickly will never bond properly, leaving a tacky finish that attracts dust and smears. Two thin coats buffed correctly will outperform one heavy coat in every measurable way — protection, sheen consistency, and longevity.
Best for: Any chalk paint color you want preserved exactly. White, cream, gray, and pastel palettes. First-time wax users. Pieces in daily use where a consistent, low-maintenance finish matters more than visual drama.
Wood
$14.99
In stock on Amazon
Check price on AmazonDark and Tinted Wax: Antiquing Plus Protection
Finishing
$17.99
In stock on Amazon
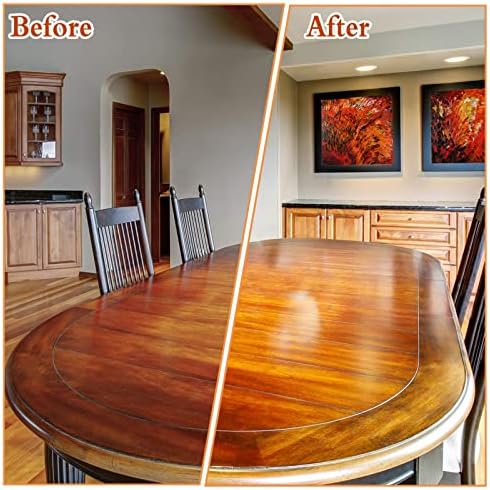
Check price on AmazonDark wax is a transformation tool first and a sealer second. When applied over a chalk-painted surface, the tinted pigment in the wax settles into recesses — carved details, routed edges, crevices at joints — and builds a shadow-and-depth effect that mimics the patina of aged furniture. Apartment Therapy’s chalk paint guide (apartmenttherapy.com, “The Beginner’s Guide to Chalk Paint”) describes working in small 12-inch sections and immediately wiping back excess as the technique that gives you control over how deep the antiquing effect reads. Work too large an area at once and the wax begins to set before you can shape it.
The single most effective technique reported by experienced chalk paint finishers is the two-step approach: apply a full clear wax coat first, allow it to cure, and then apply dark wax on top. The cured clear wax acts as a grip base that slows the dark wax absorption, giving you an extended working window and making it much easier to wipe back if you overshoot the depth you wanted. First-time users who go straight to dark wax on bare chalk paint — without a clear base — are the ones who report the “went wrong fast” outcome. The paint’s high porosity pulls the dark wax in quickly and unevenly, and recovery is difficult.
Best for: White, cream, and light gray base colors where the contrast between the tinted wax and the painted surface is most visible. Pieces with carved or routed details where the dark wax can settle into recesses and create shadow. Furniture you want to read as genuinely old rather than recently painted. Finishers who are willing to practice the technique on scrap board before committing to the project piece.
Finishing
$17.99
In stock on Amazon
Check price on AmazonLayered Wax Finishes: Combining Clear and Tinted for Maximum Control
Jolie
$21.95
In stock on Amazon
Check price on AmazonThe most controlled and durable chalk paint finish combines clear and dark wax in sequence, treating them as complementary steps rather than alternatives. This approach is described in The Spruce’s coverage of chalk paint furniture techniques (thespruce.com, “How to Use Chalk Paint on Furniture”) as the method used by experienced refinishers who want the antiquing depth of tinted wax without sacrificing the even protection that a properly applied clear base provides.
The sequence: apply clear wax as a full first coat using the absorb-then-wipe method; allow to cure fully (24 hours minimum at room temperature); apply dark wax selectively over the clear base, working in small sections; wipe back to your preferred depth; allow to cure; finish with a second clear coat to seal the dark wax layer and even out the sheen across the entire surface. This final clear coat step is what separates a finish that looks purposeful from one that reads as uneven or accidental — the top clear coat visually unifies the antiqued recesses and the lighter raised surfaces into a coherent whole.
This Old House’s furniture refinishing coverage (thisoldhouse.com, “How to Paint Furniture”) notes that wax-finished surfaces benefit from periodic maintenance — a light buff with fresh wax on high-wear areas — more than they benefit from heavy initial coats. Building up the finish in controlled layers and refreshing it over time produces a more durable and more attractive result than attempting to achieve full protection in a single application session.
Best for: High-investment pieces where you want both maximum protection and maximum visual depth. Furniture with complex surface geometry — carved cabinets, turned legs, routed tabletop edges — where the layered approach lets you shape the antiquing effect with precision. Finishers who have completed at least one single-wax project and understand how the material behaves before committing to the full sequence.
Jolie
$21.95
In stock on Amazon
Check price on AmazonDurability and Protection: What Wax Can (and Cannot) Do
Wax is not polyurethane. That distinction matters most on high-use surfaces like dining tables, and it’s worth stating plainly before you commit to a wax finish on a piece that will see significant daily contact.
This Old House’s furniture refinishing coverage is direct on the point: wax provides meaningful protection against light abrasion and everyday handling, but it is not a hard barrier against standing water, prolonged heat, or persistent friction. A well-waxed chalk-painted table will repel incidental moisture — a splash, a condensation ring that gets wiped promptly — but a glass left sitting for an extended period on a lightly waxed surface can still leave a mark. Coasters remain a practical recommendation even on a properly finished piece.
Owner experience with chalk paint wax products consistently surfaces one restorative property that manufacturers tend not to lead with: a fresh application of wax on an older chalk-painted piece can soften and partially fill light surface scratches. This isn’t marketed as a restoration product, but it’s a consistent enough observation among long-term owners of chalk-painted furniture that it’s worth knowing if you’re working with an existing piece rather than a fresh paint job.
Reapplication timeline: Based on maintenance guidance from The Spruce (thespruce.com) and aggregated owner experience, a practical reapplication schedule for a high-use table is a full refinish every 6 to 12 months, with spot-buffing on high-wear zones (edges, corners, the center of a tabletop) every few months using a small amount of fresh wax. Low-traffic pieces — a side table, a decorative console — can typically go 18 to 24 months before needing attention.
When Not to Use Wax: The Chalkboard Surface Exception
If your chalk-painted surface is meant to function as an actual chalkboard — a table where you write with chalk and erase — wax is the wrong topcoat. Full stop.
The reason is mechanical: chalk writing works by depositing calcium carbonate particles into a slightly porous, slightly rough surface. Wax fills and smooths that surface at the microscopic level, which means chalk won’t adhere properly and erasing becomes inconsistent. The result is a patchy, ghosting-prone surface that frustrates rather than functions.
For functional chalkboard surfaces, the appropriate preparation is seasoning: rub the flat side of a chalk stick across the entire surface before first use, then wipe clean with a dry cloth. This primes the surface to erase cleanly and prevents ghost marks from the first use. Wax topcoats are for decorative chalk paint applications on furniture you want to protect and display — not for surfaces you’ll actually write on.
Frequently Asked Questions
Do I need a wax topcoat if I use chalk paint on a table that will be used daily? Yes. Unsealed chalk paint is highly porous and will absorb oils, moisture, and staining agents within weeks of regular contact. A wax topcoat is the minimum viable protection. For very high-use tables, two full coats — buffed between each — are a practical standard.
What is the difference between clear and dark tinted wax on chalk-painted furniture? Clear wax seals and protects without changing the paint color. Dark or tinted wax adds an antiquing effect — deepening shadows in carved details and crevices — while also providing protection. Clear wax is about preservation; dark wax is about visual transformation plus protection.
How do I apply wax without streaks or sticky patches? Apply thin — less than you think you need. Work in small sections. Wait 30 to 60 minutes before buffing so the wax absorbs into the chalk paint surface rather than sitting on top. Buff with a lint-free cloth or stiff wax brush in circular motions. Stickiness means you applied too much or buffed too soon.
Can wax protect a chalk-painted surface from water rings and spills? It protects against incidental moisture wiped up promptly. It is not a waterproof barrier. A glass left sitting for an extended period can still leave a mark on a lightly waxed surface.
How long does wax topcoat last on a high-use table before needing reapplication? Plan on a full reapplication every 6 to 12 months for a table in daily use. Spot-buff high-wear areas more frequently. Low-traffic pieces can go 18 to 24 months.
Can I use wax over chalkboard paint without ruining the writing surface? No. Wax over a functional chalkboard surface compromises chalk adhesion and erase performance. Wax is appropriate for decorative chalk paint furniture finishes only — not for surfaces you’ll write on.
The Decision Rule
If you want to lock in a color exactly and build a durable everyday surface: clear wax, two thin coats, absorb-then-wipe method.
If you want your piece to read as genuinely old and you’re willing to practice on scrap board first: clear wax base coat, then dark wax worked in small sections, wiped back to your preferred depth.
If you’re building the most controlled and durable finish possible on a high-investment piece: clear base, dark wax selectively applied, clear topcoat to seal and unify.
If the surface will be written on with chalk: skip wax entirely and season the surface properly instead.
The products are honest tools. The reviews that go sideways almost always trace back to too much wax applied too fast without the wait. Slow the application down, and the result holds up better than most people expect.