September 9, 2026 • Maren Calloway • 9 min reading time • Prices verified June 6, 2026
Chalkboard Paint for Walls vs. Furniture vs. Appliances: Surface-by-Surface Results
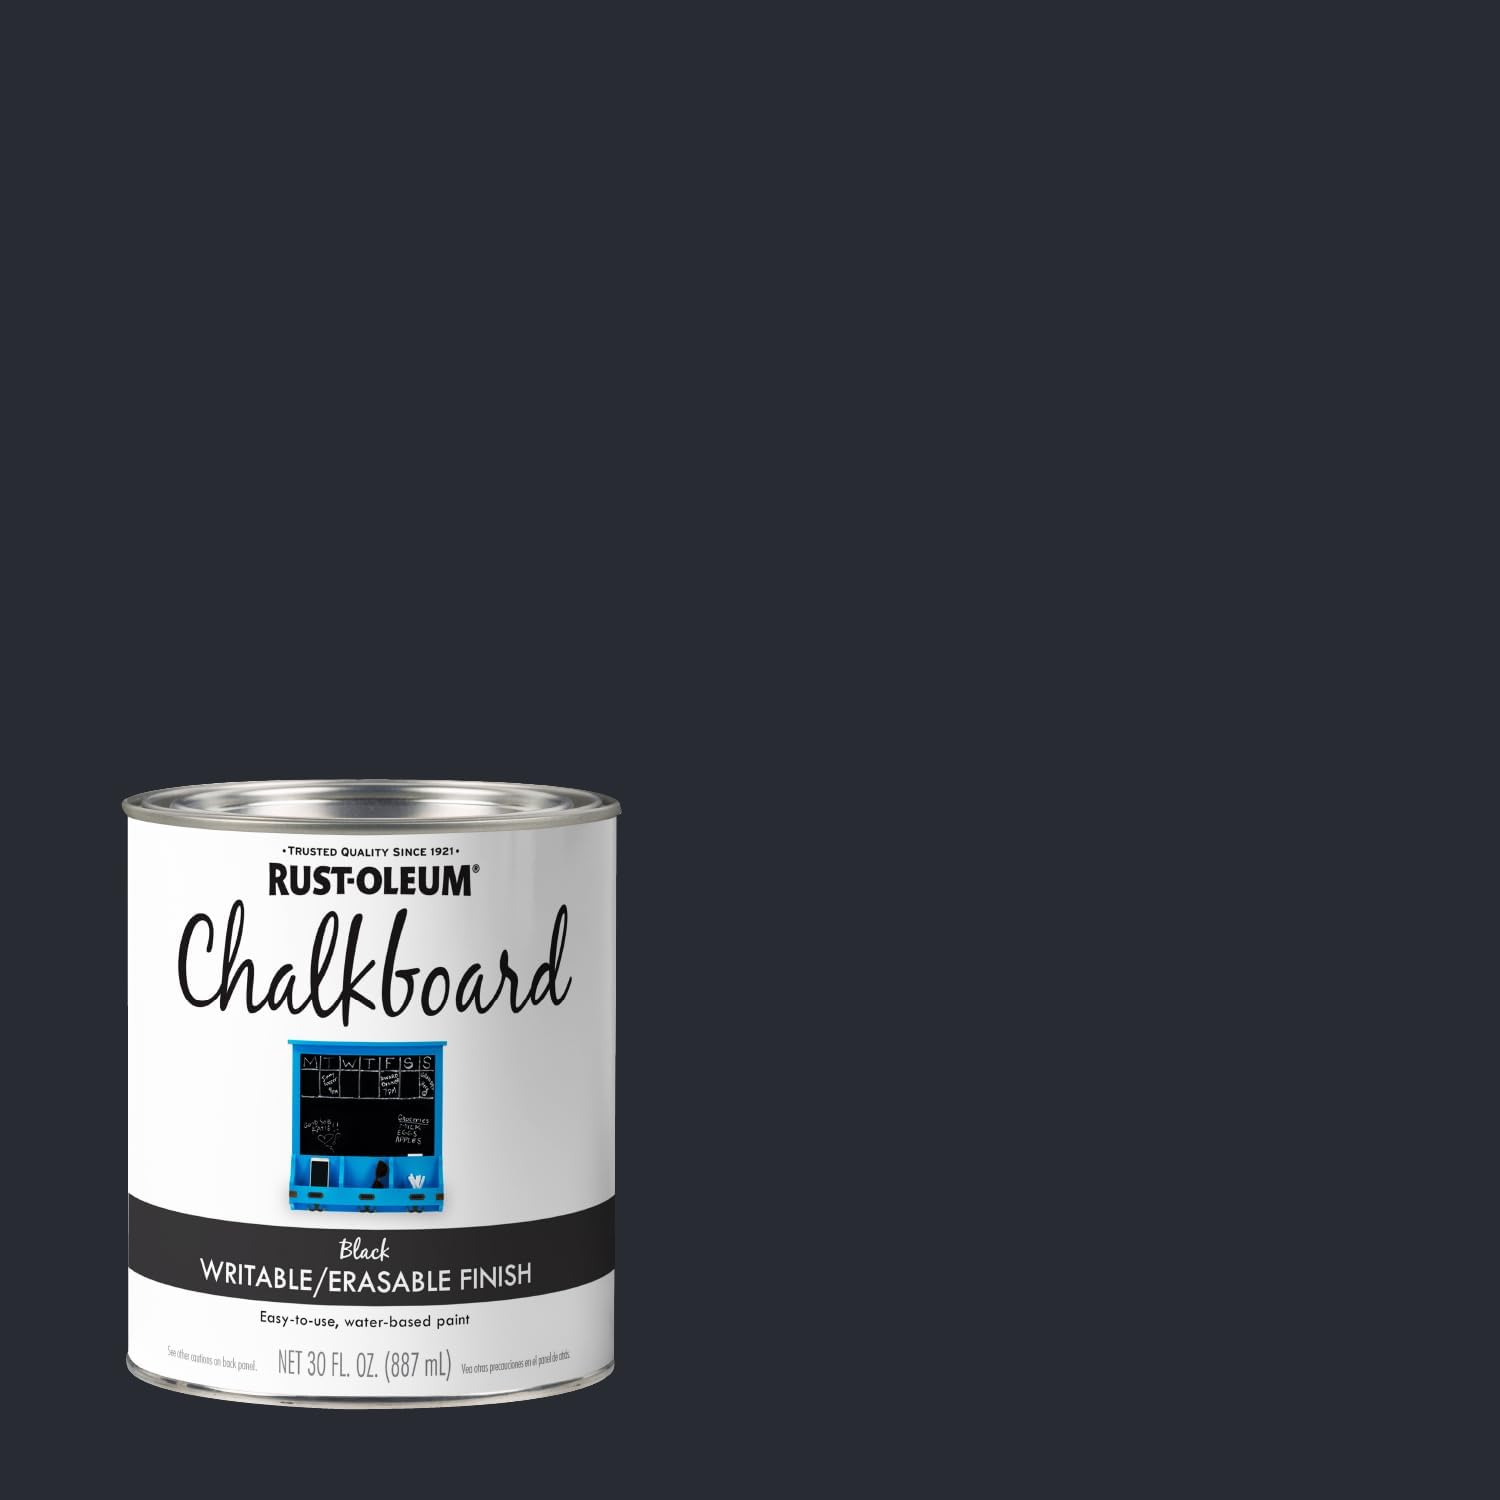
Chalkboard paint — a specialty coating that dries to a matte, chalk-receptive surface — sounds like a simple product. Buy a can, brush it on, write on it. But if you’ve read through a few hundred buyer reviews the way we have, a clear pattern emerges: the surface you’re painting matters enormously, and most of the frustration people report comes from applying a wall-calibrated technique to furniture, or a furniture-calibrated technique to an appliance. The prep steps that are optional on fresh drywall are non-negotiable on a glossy refrigerator door. The number of coats that’s enough on a smooth MDF table is underkill on porous brick. This guide breaks down what actually happens — surface by surface — drawing on aggregated reviewer accounts, manufacturer spec sheets, and published guides from sources including This Old House, Bob Vila, The Spruce, and Good Housekeeping. You’ll come away with a clear decision frame for your specific project.
| EDITOR'S PICKChalkboard Blackboard Paint - B… | Mid-tierRust-Oleum 206540 Chalkboard Br… | Budget pickDecoArt DS90-3 Americana Chalkb… | |
|---|---|---|---|
| Volume | 8.5 oz | 30 oz | 2 oz |
| Application | Brush-on | Brush-on | — |
| Finish | Matte | — | — |
| Surfaces | Wood, metal, glass, wall | — | — |
| Non-toxic | ✓ | — | — |
| Chalk pen compat. | ✓ | — | — |
| Price | $17.97 | $16.49 | $6.81 |
| See on Amazon → | See on Amazon → | See on Amazon → |
Why Surface Type Is the Variable That Changes Everything
The core chemistry of chalkboard paint doesn’t change between products — you’re essentially looking at a flat, pigmented latex or oil-based coating loaded with fine particles (often calcium carbonate or fine silica) that create the tooth, or microscopic texture, chalk needs to grip. What changes is how that coating interacts with the porosity, texture, smoothness, and existing finish of the substrate underneath it.
Here’s a quick reference for how those variables stack up:
| Surface | Porosity | Sanding Feasible? | Primer Usually Needed? | Typical Coat Count |
|---|---|---|---|---|
| Drywall / plaster wall | Medium–high | Yes | Sometimes | 2 |
| MDF furniture (bare) | High at edges | Yes | At edges only | 2–3 |
| Wood furniture (painted/glossy) | Low | Yes | Yes | 2 |
| Tile (school, kitchen) | Very low | Often no | Yes — critical | 3 |
| Metal / appliances | Very low | Yes | Yes — critical | 2–3 |
| Outdoor weathered surfaces | High/variable | Yes | Recommended | 3 |
Reviewers who report poor results almost always land in one of two buckets: they skipped priming on a low-porosity surface, or they applied too many heavy coats too fast on any surface. Both failures show up repeatedly in reviews of products across the category.
Walls: The Easiest Win, With One Consistent Caveat
Fresh or lightly painted drywall is genuinely the most forgiving substrate for chalkboard paint. The Spruce’s step-by-step guide and This Old House’s editorial overview both land on two coats as the standard recommendation for interior walls, with light sanding between coats using 150-grit sandpaper to knock down any texture inconsistency.
The one consistent caveat reviewers raise about walls: ghosting on previously dark or heavily colored walls. Ghosting is what happens when chalk writes leave a faint, permanent shadow even after erasing — the pigment works into surface irregularities or, on dark walls, the underlying color bleeds through the chalkboard coating over time. The fix is straightforward: prime the wall first with a gray or tinted primer before the chalkboard coat goes on. Apartment Therapy’s overview of chalkboard paint application specifically flags this as the most common first-month failure mode for wall projects.
The seasoning step — rubbing the flat side of a piece of chalk over the entire surface, then erasing before first use — is another step many wall painters skip, and reviewers who skip it report more ghosting on their first real use. Seasoning works by filling the surface’s microscopic pores with chalk dust uniformly, so the first intentional writing doesn’t create a “first impression” that the surface memorizes. Think of it like seasoning a cast-iron pan: you’re conditioning the surface before it sees real use. Good Housekeeping’s tips overview explicitly credits this step as the primary prevention for early ghosting, and the INSL-X product’s reviewer base offers some of the most detailed process descriptions in this regard — multiple buyers credit the full sequence (sand, clean, prime, two coats, season) for exceptional wall results.
Decision rule for walls: If your wall is already white or light-colored and in good condition, two coats and the seasoning step will get you there. If the wall is dark, previously glossy, or has texture variation, add a primer coat first. Don’t skip seasoning under any circumstances.
Furniture: Higher Stakes, More Variables
Furniture is where chalkboard paint projects get genuinely complicated, because furniture surfaces vary so wildly — bare MDF, painted wood, raw hardwood, laminate — and because furniture takes physical contact in ways walls don’t.
Bare MDF (medium-density fiberboard, the engineered wood product used in most flat-pack furniture) is actually a reasonably good chalkboard paint candidate on its face panels, but its edges are highly porous and will absorb paint unevenly unless primed. Reviewers applying chalkboard paint to MDF pieces consistently report that the edges look blotchy or show raised grain without an edge primer step. Two to three coats on the face, with primer on edges, is the standard that surfaces in aggregated reviews.
Painted or previously glossy furniture is the higher-risk scenario. Without sanding to break the existing finish’s sheen, chalkboard paint simply won’t bond properly — reviewers report peeling and flaking within weeks on unsanded glossy surfaces. The sanding step here isn’t about smoothness; it’s about adhesion. Bob Vila’s product roundup explicitly notes that 220-grit sanding before application is standard practice for furniture with an existing finish. Krylon’s chalkboard spray, noted in several reviews as “really thick,” is particularly prone to dripping and running if applied too heavily with a foam brush on vertical furniture surfaces — reviewers recommend thin, even passes and erring toward one light coat before a second, rather than one heavy coat.
The curing question matters more on furniture than walls. Most manufacturer spec sheets distinguish between “dry to touch” (usually 1–2 hours) and “full cure” (often 24–72 hours, sometimes longer for full hardness). Furniture that gets handled — a table that gets stacked, a chair that takes weight — needs the full cure period before it sees use. Reviewers who report scratching or paint lifting on furniture almost always reveal they used the piece within hours of painting.
Decision rule for furniture: Sand everything first, regardless of existing finish condition. Prime MDF edges. Apply thin coats. Wait the full cure window before use. On vertical surfaces, trust the spray products more than a heavily loaded foam brush.
Appliances and Tile: The High-Effort, High-Reward Category
This is where the full prep sequence stops being optional and becomes the whole game.
Refrigerator doors and metal appliances are low-porosity, often already coated with a baked-on or powder-coat finish (a cured, electrostatically applied paint that’s extremely durable and slick). Chalkboard paint has almost nothing to grip without mechanical abrasion first. Reviews of chalkboard paint applied to refrigerator doors — a genuinely popular project, with reviewers describing painter’s tape grids to create organized menu-board sections — show a clear bifurcation: people who sanded with 220-grit and applied a bonding primer first report excellent long-term adhesion; people who skipped one or both steps report peeling within months.
The painter’s tape grid technique on refrigerators is worth understanding: reviewers apply tape in a grid pattern before painting to create distinct chalkboard “panels” separated by clean lines, which both looks more intentional and limits the surface area that needs to adhere perfectly.
Tile — especially school or kitchen tile — presents a different problem: the surface is often curved at its edges, the grout lines create texture variation, and sanding may be impossible or impractical (school tiles in an installed classroom, for instance, can’t always be taken down and belt-sanded). Reviewers in exactly this situation — applying chalkboard paint to existing school tile where sanding isn’t feasible — report that a bonding primer is non-negotiable, and that three coats of chalkboard paint rather than two helps build enough surface tooth to compensate for imperfect prep. Results are still more variable than on furniture or walls; this is a “best available outcome” scenario rather than an ideal one.
Outdoor and weathered surfaces — food truck menu boards repainted repeatedly, outdoor weathered whiteboards getting a chalkboard conversion — add UV degradation and moisture cycling to the equation. FolkArt’s outdoor chalkboard formula is specifically cited in reviewer accounts for this use case. Reviewers running food truck menu boards through multiple repaint cycles (some describing years of seasonal repainting) report that the key is treating each repaint as a fresh project: clean thoroughly, sand, re-prime if the surface has degraded, and apply fresh coats. The longevity benefit of starting fresh each time substantially outweighs trying to layer new paint over old.
Decision rule for appliances and tile: Budget for a bonding primer as a non-negotiable line item. On metal, sand first. On tile where sanding isn’t possible, add a third coat. Treat outdoor surfaces as a recurring maintenance project, not a one-time application.
Frequently Asked Questions
Do you need to prime before applying chalkboard paint? On fresh drywall or bare wood in good condition: sometimes optional, but recommended if the surface is dark or previously glossy. On metal, appliances, tile, or any glossy furniture surface: yes, a bonding primer is essentially required for durable adhesion. The Spruce’s application guide puts it plainly — primer is insurance, not a luxury.
How many coats does chalkboard paint need on a wall vs. furniture? Two coats is standard for walls in good condition. Furniture typically needs two to three coats, with light sanding between coats. Low-porosity surfaces like tile or metal may benefit from three coats to build adequate chalk-receptive tooth.
What is the chalk seasoning step and does it actually prevent ghosting? Seasoning means rubbing the broad, flat side of a piece of chalk across the entire chalkboard surface before first use, then erasing fully. This fills the surface’s microscopic texture uniformly so that the first intentional writing doesn’t create a permanent impression. Good Housekeeping’s editorial overview credits this step specifically as the primary prevention for early ghosting. Yes — it actually works, and most ghosting complaints come from reviewers who skipped it.
Can chalkboard paint go over a whiteboard surface? Technically yes, but it requires thorough sanding to break the whiteboard’s slick, low-friction surface. Most whiteboard coatings are designed to resist adhesion (that’s how markers wipe off), which is exactly the property you need to defeat. Bonding primer after sanding is strongly advised.
Will chalkboard paint stick to tile or metal without primer? Based on aggregated reviewer outcomes: not reliably. Both surfaces are too low-porosity for standard latex chalkboard paint to grip without mechanical abrasion plus a bonding primer. Skipping primer on these surfaces is the single most consistent predictor of peeling failures in reviewer accounts.
How long should chalkboard paint cure before first use? “Dry to touch” (1–2 hours for most formulas) is not the same as cured. Most manufacturer spec sheets indicate 24–72 hours for sufficient hardness before chalk use; furniture and high-contact surfaces should be treated as the longer end of that range. Attempting to season or write on an uncured surface is another consistent failure pattern in reviews. When in doubt, give it a full 48 hours before the first chalk contact.